LED strip lights are popular for their flexibility, easy installation, and excellent lighting effects in both decorative and functional applications. However, one of the most overlooked yet critical parts of any LED strip setup is the connector and wire installation. Incorrect connections can cause flickering, partial lighting failure, short circuits, or even damage to the LED strip itself. In this guide, we’ll cover everything you need to know — from preparation and connection methods to detailed installation steps, safety tips, and troubleshooting advice — so you can install LED strip connectors and wires correctly and confidently.
1. Preparation: Tools, Materials, and Safety Checks
Before you start connecting your LED strips, it’s important to have the right tools and ensure a safe working setup.
Tools You’ll Need:
Wire stripper or precision knife
Small Phillips or flat screwdriver
Multimeter (for continuity and voltage testing)
Heat shrink tubing or electrical tape
Scissors or cutting tool
Soldering kit (if using soldered connections)
Materials:
LED strip lights
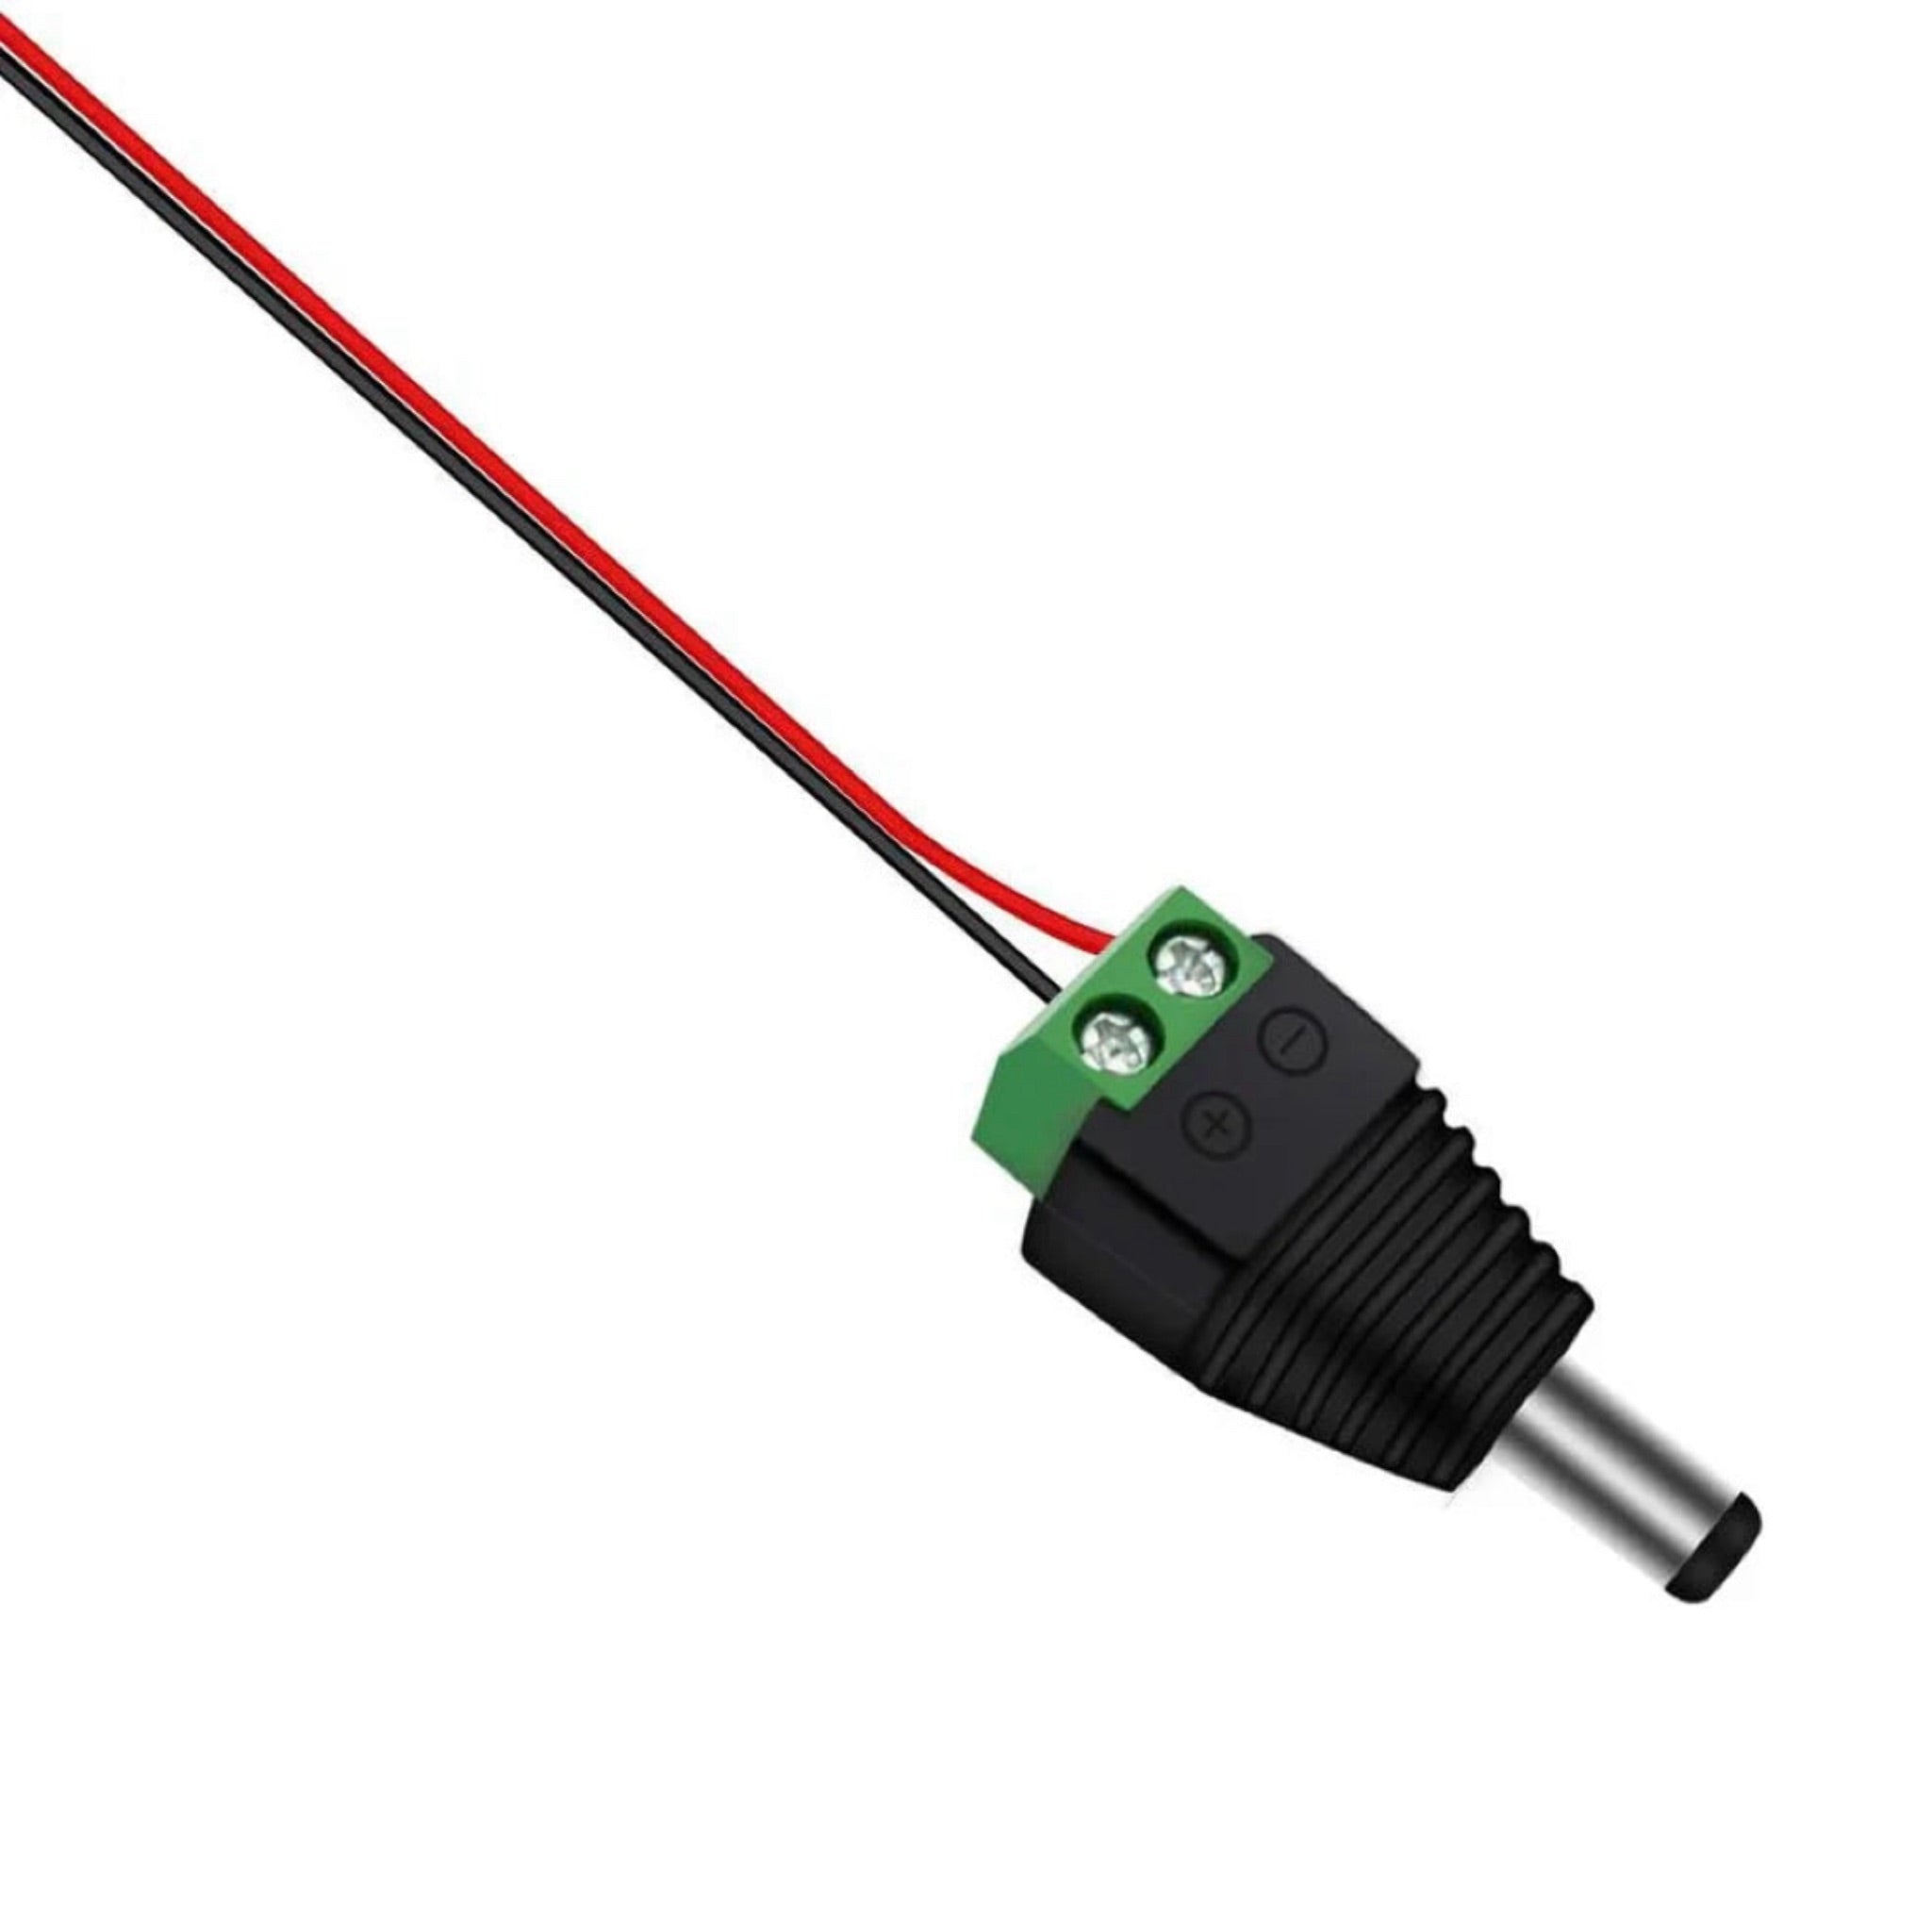
LED strip connectors (strip-to-wire, strip-to-strip, 2-pin / 3-pin / 4-pin, etc.)
Power supply cables or jumper wires
Wires rated for your strip’s voltage and current
Heat shrink tubing or silicone sleeves for insulation
Safety Checks:
Always disconnect the power supply before working.
Check for any damaged wires or insulation breaks.
For outdoor or humid environments, ensure waterproofing and sealing materials are prepared.
Parameter Matching:
Check LED strip voltage (e.g., 12V or 24V).
Match current rating between connectors and wire gauge.
Verify correct polarity (+ and – terminals).
Choose the right connector type (2-pin, 3-pin, 4-pin) compatible with your LED strip width.
2. Connection Types: Strip-to-Wire vs. Strip-to-Strip
There are two main connection types in LED strip systems:
- Strip-to-Wire: Connects the LED strip to a wire, typically for power input or extension.
- Strip-to-Strip: Connects two LED strips directly for linear or corner installations.
1. Strip-to-Wire Connection
This is used for connecting your LED strip to a power source or extension wire.
Steps:
Cut and expose the contact area — Trim the silicone cover or waterproof coating at the copper pads.
Insert into connector — Open the solderless clip and insert the strip, aligning the copper pads with the metal contacts.
Close and lock — Snap the cover shut, ensuring firm contact between the pads and connector.
Insert the wire — Strip about 5–8mm of insulation from the wire and insert it into the connector’s terminal.
Seal for insulation — Use heat shrink tubing or electrical tape for protection.
For outdoor or high-moisture environments, use waterproof connectors or add a silicone sealant around the joint.
2. Strip-to-Strip Connection
Used to extend the length or join two strips together.
Steps:
Align polarity — Ensure both strips have matching + and – pads.
Expose copper pads — Remove protective coating carefully.
Insert both strips — Slide each strip into either side of the connector.
Lock the clip — Close the latch to press the contact pins tightly against the copper pads.
Test and protect — Power on briefly to check connectivity, then seal if needed.
There are also “L”, “T”, and “cross” shaped connectors for 90° corners or multi-branch connections.
3. Step-by-Step Installation Process
A typical LED strip installation involves several key steps:
- Plan the Layout – Measure your area, mark where each strip and connector will go.
- Cut and prepare strips – Cut only along marked cut lines.
- Attach connectors – Use strip-to-wire or strip-to-strip types as required.
- Test connections – Power on briefly to ensure proper lighting.
- Mount strips – Secure strips with adhesive tape, clips, or aluminum channels.
- Insulate joints – Cover all open copper or wire joints for safety.
- Final inspection – Check brightness consistency and ensure no flickering or heat buildup.
4. Common Mistakes and How to Avoid Them
To ensure a durable and safe installation, avoid these common errors:
- Reversed polarity: Always check + and – alignment before connecting.
- Shallow or deep stripping: Expose just enough copper pad for secure contact.
- Loose connection: Ensure the clip fully locks; partial contact causes flickering.
- Underrated wire gauge: Too-thin wires can cause voltage drop or overheating.
- Excessive extension length: Long cables cause dimming — use thicker wires or amplifiers.
- No waterproofing outdoors: Always seal joints with silicone or waterproof caps.
- Skipping testing steps: Always test connections before final mounting.
5. Troubleshooting LED Strip Connection Problems
- Direct connect test: Connect the strip directly to power to check for internal damage.
- Section test: Test one connector at a time to locate the issue.
- Wiggle test: Gently move wires to detect intermittent contact.
- Measure voltage: Use a multimeter to check input and output voltage consistency.
- Inspect seals: Look for moisture or corrosion in outdoor setups.
- Replace faulty connector: If one connector fails, replace it with a higher-quality one.
6. Solderless Connectors vs. Soldered Connections
| Feature | Solderless Clip Connector | Soldered Wire Connection |
|---|---|---|
| Installation speed | Fast and easy | Slower, requires skill |
| Reliability | Good if contact is firm | Very stable if soldered well |
| Skill requirement | Low | High |
| Maintenance | Easy to replace | Harder to disassemble |
| Durability | Good for indoor use | Excellent for permanent setups |
For most home and commercial projects, solderless connectors offer excellent convenience and reliability. For high-vibration or outdoor use, soldered connections may still be the best option.
7. Recommended LED Strip Connector Products
Here are several high-quality connectors from LEDLightsWorld, suitable for 8mm to 10mm 2–4 pin LED strips. All are solderless, easy to install, and available with transparent or crystal housings.
| Connector Type | Product Name / Specification | Link |
|---|---|---|
| 8mm 2Pin Solderless Connector | LED Strip Connectors 8mm 2Pin (10-Pack) | View Product |
| 10mm 2Pin Solderless Connector | LED Strip Connectors 10mm 2Pin (10-Pack) | View Product |
| 10mm 3Pin Transparent Connector | Transparent Crystal LED Strip Connectors 10mm 3Pin | View Product |
| 10mm 4Pin Transparent Connector | Transparent Crystal LED Strip Connectors 10mm 4Pin | View Product |
8. Conclusion
Choosing and installing the right LED strip connectors and wires is fundamental to achieving a safe, durable, and visually consistent lighting system. By following this step-by-step guide, you can ensure reliable connections, minimize voltage loss, and maintain perfect illumination for years to come. Whether you’re setting up accent lighting at home or managing a large commercial lighting project, proper connector installation is the backbone of every successful LED strip setup.