Picture this: evening falls, your garden lights turn on one by one, pathways glow softly, and the backyard feels warm and inviting. But if you pick the wrong power supply, that picture-perfect scene may only last a few minutes—lights start flickering, or even trip the circuit.
Many people focus only on the light fixtures and forget that the power supply is the “heart” of the entire system. The right power supply not only keeps your lights shining steadily but also extends their lifespan, improves safety, and can even save on energy costs. Let’s dive into a step-by-step guide to choosing the right LED power supply and keeping your system running reliably for years.
1. Calculate the Total Power – and Leave Headroom
Start by calculating the total wattage of your system. Add up the rated wattage of all fixtures, then add at least 20–30% extra headroom. This prevents the power supply from running at 100% load all the time, reducing heat buildup and prolonging its life.
Example: if you have 10 m of 24 V LED strip lights at 10 W per meter, the total power is 100 W. With 30% headroom, you should choose at least a 130 W power supply.
Pro tip: For outdoor installations in sealed boxes or hot climates, increase headroom to 40–50% to handle summer temperatures and continuous operation.
2. Match Voltage and Minimize Voltage Drop
Voltage compatibility is critical. Some fixtures run on AC 12 V, others on DC 12 V or 24 V. Mixing them up will cause lights to flicker or fail to turn on.
For longer runs, you must also account for voltage drop—the further the wire run, the more the voltage drops, leading to dimmer lights at the far end. To fix this:
- Use thicker wires to reduce resistance
- Choose a 24 V system instead of 12 V for lower current
- Power from both ends or use multiple feed points for even brightness
3. Manage Heat: Temperature Matters Heat is the number one enemy of power supply longevity. Internal components like capacitors and MOSFETs are sensitive to temperature, and a 10 °C rise can cut lifespan in half.
Heat management tips:
- Leave at least 2–4 inches of clearance around the power supply for airflow
- Avoid direct sunlight or heat sources
- Mount to a metal surface to improve heat dissipation
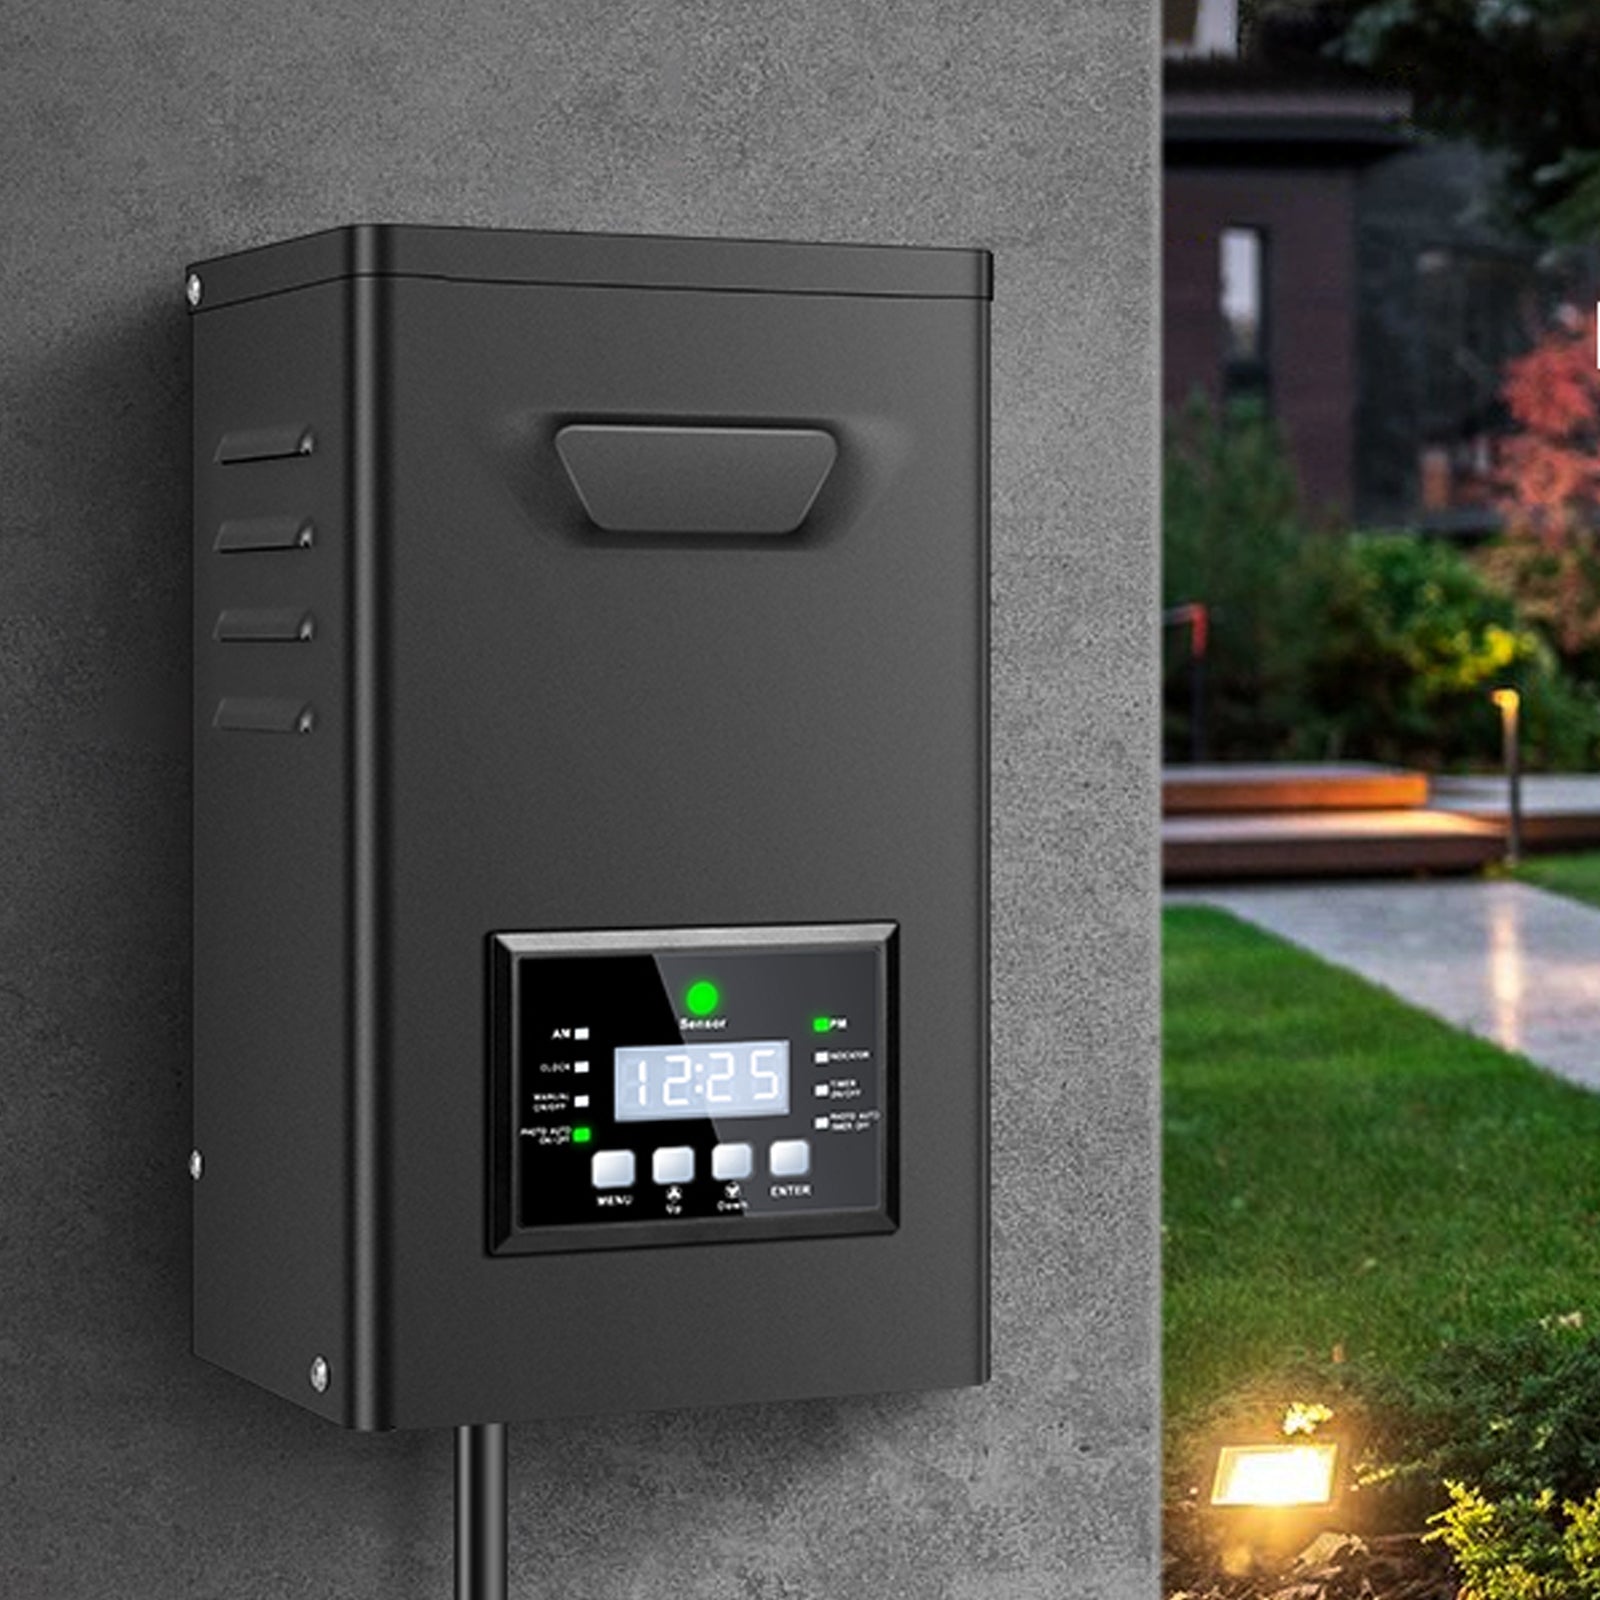
- Choose IP67 sealed aluminum power supplies and install them in shaded, ventilated areas
For high-power applications, look for power supplies with thermal protection—they automatically derate or shut down if overheating, preventing permanent damage.
4. Match Your Dimming Method
If you plan to dim your lights, check what dimming method your system uses:
- TRIAC/ELV – works with wall dimmers, common in residential setups
- 0–10 V – widely used in commercial lighting, very stable
- PWM dimming – great for constant-voltage LED strips, maintains color consistency
- DALI/DMX – for advanced control in hotels, theaters, and stage projects
Mismatched dimming will cause flicker, buzzing, or simply fail to dim. Always confirm compatibility before you buy.
5. Safety and Protection Features
Outdoor and damp locations demand IP65 or IP67-rated waterproof power supplies. Look for models with built-in protections:
- Overcurrent protection
- Overtemperature protection
- Short-circuit protection
- Surge protection for storm-prone areas
Also, check for safety certifications such as UL, ETL, or CE—these ensure the product meets strict electrical and fire safety standards.
6. Installation & Wiring Best Practices
- Use waterproof connectors and junction boxes to keep moisture out
- Size your wires properly for the current to prevent overheating
- Use GFCI-protected circuits for outdoor projects
- Avoid coiling excess cable, which traps heat and can create interference
7. Common Issues and Quick Fixes
| Problem | Likely Cause | Fix |
|---|---|---|
| Lights dim at the far end | Excessive voltage drop | Thicker wire, 2-end power feed, upgrade to 24 V |
| Power supply runs hot | Insufficient headroom | Upgrade to higher wattage, improve ventilation |
| Flickering when dimming | Incompatible dimming method | Use a matching power supply or controller |
| Failure after rainy days | Water ingress | Use waterproof connectors and sealed junction boxes |
Final Thoughts
By focusing on voltage matching, power headroom, heat management, and proper installation, you can prevent most common failures and enjoy a beautiful, trouble-free lighting system for years.
If you’re planning a landscape lighting project or need a reliable power supply for your LED setup, check out our curated collection of low-voltage landscape power supplies—waterproof, durable, and available in multiple power ratings:
Click here to explore our Low Voltage Landscape Power Supplies